Choosing and installing the right LED strips: a complete guide
LED strips have become an essential element in modern lighting projects. They are versatile, energy-efficient, and visually appealing. At the same time, the market is vast and quality differences can be significant. Choosing the wrong strip or installing it incorrectly can lead to disappointing results or a shorter lifespan. This guide offers practical tips and technical insights to help electricians make informed decisions and avoid common mistakes.
Structure and types of LED strips
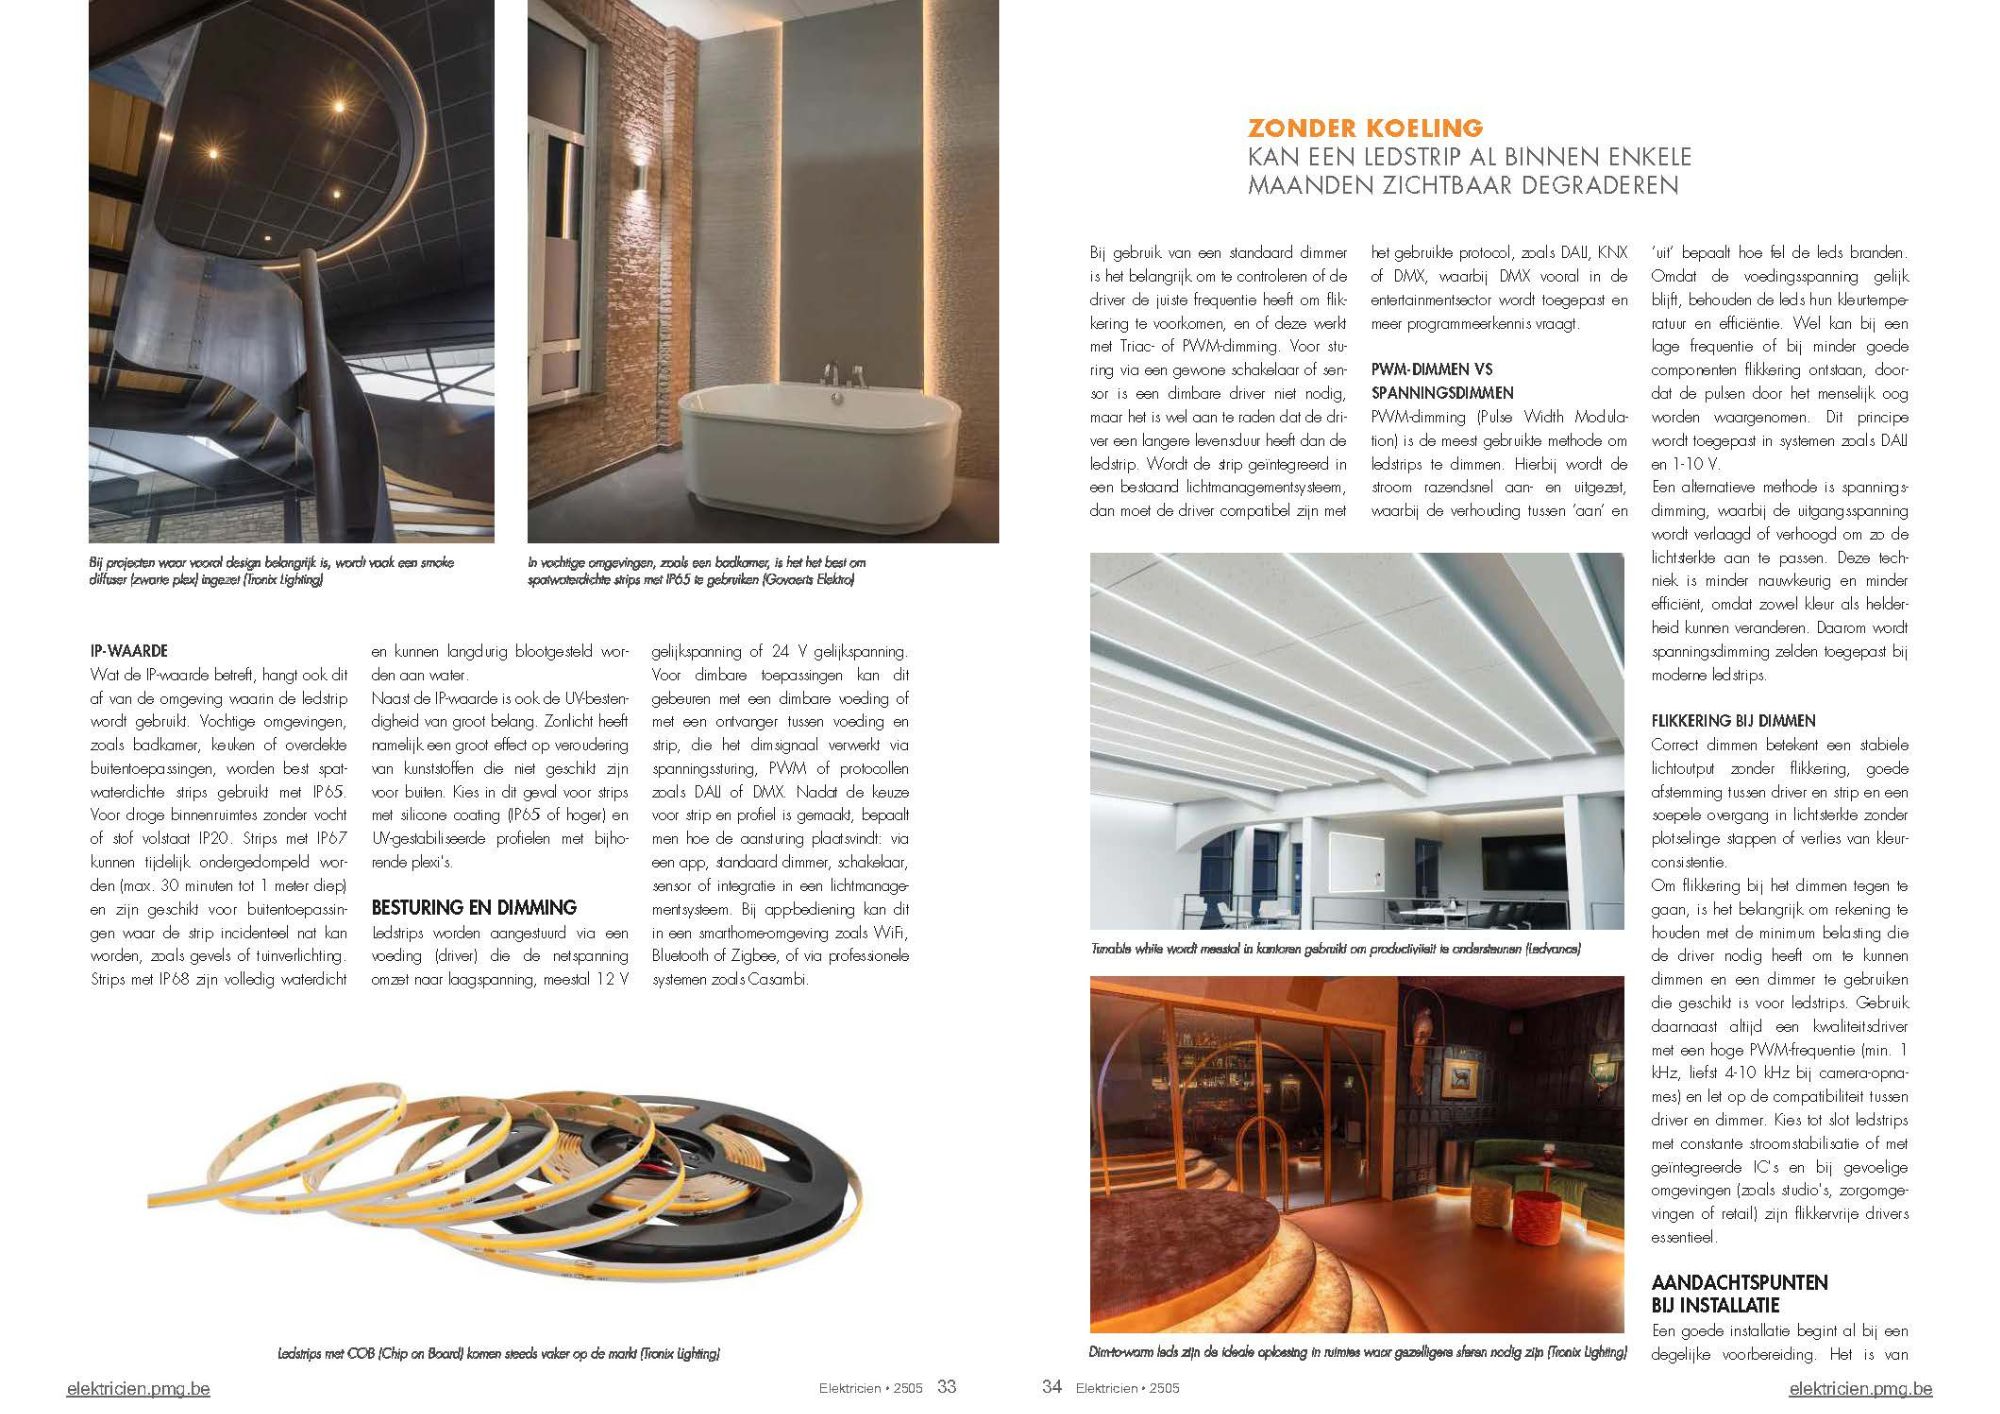
An LED strip is built on a flexible printed circuit board (PCB) with individual LED chips mounted on it. The main differences between strips come from the type of chip used. SMD (Surface Mounted Device) chips are soldered onto copper pads on the PCB, while COB (Chip on Board) strips place multiple chips seamlessly next to each other for a smoother, more uniform light effect.
Besides chip type, LED strips vary in light output and colour: RGB, Tunable White, and Dim-to-Warm are the most common.
A typical LED strip has two layers: a thin power line (e.g., 24 V) and the flexible PCB with the LEDs. Each segment contains resistors to limit current, along with solder points so the strip can be cut and reconnected. Most strips come with double-sided tape for easy installation. Waterproof types feature a protective epoxy coating.
LED strips can be controlled in two ways: resistor-controlled, where resistors regulate the current, or IC-controlled, where integrated circuits provide more advanced control such as segment-by-segment or even individual LED operation. The latter is often used in digital RGB strips.
Quality indicators
Not all LED strips are created equal. Several factors indicate quality:
- CRI (Color Rendering Index): should be at least 80. For applications where colour accuracy is key, such as retail or art, choose CRI ≥ 90 or even 95.
- SDCM (Standard Deviation of Color Matching): also known as MacAdam steps. Good strips stay within SDCM 3 to avoid visible colour variations across the strip.
- Voltage: 24 V strips experience less voltage drop compared to 12 V versions.
Poor-quality strips often lack clear specifications. Always check the packaging for lumen per metre, wattage per metre, colour temperature, CRI, IP rating, voltage, and CE marking.
Selecting the right LED strip
The right choice depends on the application, installation environment, and desired lighting effect:
- Ambient lighting: 500–1000 lm/m.
- Task lighting (e.g., under kitchen cabinets): 1,000–1,500 lm/m, depending on surface colour (lighter surfaces require less output than darker ones).
- Ceiling-mounted general lighting: > 2,500 lm/m.
- Office lighting: around 3,000 lm/m.
Matching light to the application
- General lighting: white or Tunable White (TW) strips
- Accent lighting: TW, RGB, or RGBW. Monochrome strips in 2700 K or 3000 K remain most popular.
- Atmosphere creation: RGB and RGBW are common in hospitality and leisure spaces.
- Productivity: Tunable White is often used in offices.
- Colour accuracy: High CRI strips are essential for retail and art displays.
- Warm ambience: Dim-to-Warm strips suit hospitality, residential, or wellness environments.
Voltage options
- 12 V strips: ideal for short lengths or applications requiring many cut points, such as furniture or stairs. Downsides: higher current and noticeable voltage drop on longer runs.
- 24 V strips: better for longer lengths.
- 230 V strips: connect directly to mains power. Suitable for long, straight runs but less flexible, bulkier, and not dimmable with standard drivers. Less suited for indoor use or curved installations.
IP rating
The IP rating depends on the environment:
- IP20: dry indoor spaces.
- IP65: damp areas such as bathrooms, kitchens, or sheltered outdoor use.
- IP67: temporary immersion (max. 30 minutes at 1 m depth), for façades or garden lighting.
- IP68: fully waterproof, suitable for continuous exposure to water.
Outdoors, UV resistance is equally important. Sunlight degrades unsuitable plastics, so choose silicone-coated strips (IP65 or higher) and UV-stabilised profiles with matching diffusers.
Controlling an dimming
LED strips require a driver to convert mains into low voltage (12 V or 24 V DC).
Dimming options include:
- Using a dimmable driver, or
- Adding a receiver between driver and strip (voltage control, PWM, or protocols such as DALI or DMX).
Control can be via an app, dimmer, switch, sensor, or integration into a lighting management system. Apps work with WiFi, Bluetooth, or Zigbee, while professional systems often use Casambi.
PWM dimming vs voltage dimming
- PWM-dimmen (Pulse Width Modulation): meest gebruikt; behoudt kleurtemperatuur en efficiëntie. Wel kans op flikkering bij lage frequenties of slechte componenten.
- Spanningsdimming: verlaagt/verhoogt de uitgangsspanning. Minder nauwkeurig en minder efficiënt; kleur en helderheid veranderen. Zelden toegepast.
Avoiding flicker
Stable dimming means: consistent light output, smooth transitions, and no colour shift. To avoid flicker:
- Check driver minimum load.
- Use LED-compatible dimmers.
- Opt for drivers with high PWM frequency (≥ 1 kHz, preferably 4–10 kHz for filming).
- Ensure driver and dimmer are compatible.
- Choose strips with current stabilisation or ICs.
- Use flicker-free drivers in sensitive environments such as studios, healthcare, or retail.
Installation best practices
A successful installation starts with proper preparation:
- Calculate required power and match it to the driver.
- Avoid sharp bends or kinks.
- Ensure clean, dry, flat surfaces.
- Always use aluminium profiles (unless specified otherwise).
- Observe polarity when wiring.
- Account for voltage drop on longer runs.
- Test the system before final installation.
Reliable installation materials
- Soldered joints are most reliable, especially at critical points.
- Professional connectors are convenient but may loosen over time.
- Aluminium profiles improve cooling, protect against impacts and dust, and ensure a clean finish.
- Adhesive tape only works on smooth, non-porous surfaces. Avoid wood or plaster.
The value of aluminium profiles
Aluminium profiles:
- improve heat dissipation,
- protect against dust and damage,
- ensure neat finishing,
- extend LED lifespan,
- reduce lumen loss caused by heat,
- and give a professional appearance.
Without proper cooling, LED strips may visibly degrade within months.
Choosing a diffuser
- Opal diffuser: soft, uniform light, ideal for indirect use. Slight loss of output but higher visual comfort.
- Clear diffuser: maximum output, best for functional applications or hidden installation.
- Smoke diffuser (black plexi): used in design-led projects, such as dark furniture. Reduces output but enhances aesthetics.
Common mistakes to avoid
- Not using aluminium profiles
- Ignoring voltage drop
- Installing on unclean or greasy surfaces
- Using unreliable connectors
- Wrong driver-dimmer combination
- Incorrect cutting or soldering
- Skipping pre-installation testing
- Undersized or incorrect drivers
- Choosing the wrong IP rating
- Overbending or overstretching strips
With contributions from Govaerts Elektro, Ledvance and Tronix Lighting
Read the article below (in Dutch)